Table of Contents
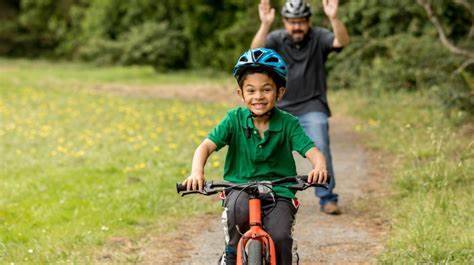
Teaching your child to ride a bike is an exciting and rewarding experience that can foster your child’s independence, boost their confidence, and create lasting memories! But this could also lead to a lot of road mishaps.
Our comprehensive guide provides step-by-step instructions on how to teach your child to ride a bike. We at Omega Pediatrics also want to emphasize the importance of bike safety equipment and precautions.
Step-by-Step Guide on How to Teach Your Child to Ride a Bike
Learning to ride a bike is an exciting milestone for children that offers them a newfound sense of freedom and independence. However, teaching your child to ride a bike requires patience and guidance that gradually build their skills and confidence.

Here’s how you can teach your child how to bike:
Step 1: Choose the Right Bike
Select a bike that’s appropriate for the height of your child. Ensure that when they are seated on the saddle, their feet can touch the ground comfortably. This allows them to have better control and confidence while learning to ride.
Proper bike fit is essential for their safety and comfort during the learning process. Take into account their height and inseam measurements when choosing the bike. Refer to the sizing charts provided by the manufacturer or consult with a bike shop expert.
Step 2: Find a Safe Practice Area
Locate a flat and open area with smooth pavement or grass where your child can practice riding without traffic, pedestrians, or other obstacles. Suitable locations may include an empty parking lot, a quiet street, or a park.
Having a safe practice area provides an ideal environment for your child to focus on learning without distractions. The area is free from hazards such as potholes, rocks, or branches that could impede their progress.
By choosing a safe practice area, you create a conducive space for your child to gain confidence and develop their riding skills.
Step 3: Remove Pedals and Lower Seat
Begin the learning process by removing the pedals from the bike and lowering the seat. Adjust the seat so that your child can comfortably touch the ground with both feet while seated. This positioning allows them to easily reach the ground, providing a sense of stability and control.
By removing the pedals, your child can focus solely on developing their balance and coordination without the added complexity of pedaling. Check that the seat is at the appropriate height to avoid any strain or discomfort while they practice balancing.
Step 4: Teach Balancing
Let your child walk the bike while sitting on the seat and lift their feet off the ground, allowing the bike to coast. Their body and steering handlebars are used to stay balanced. This step helps to develop a sense of balance and control, which are crucial for bike riding.
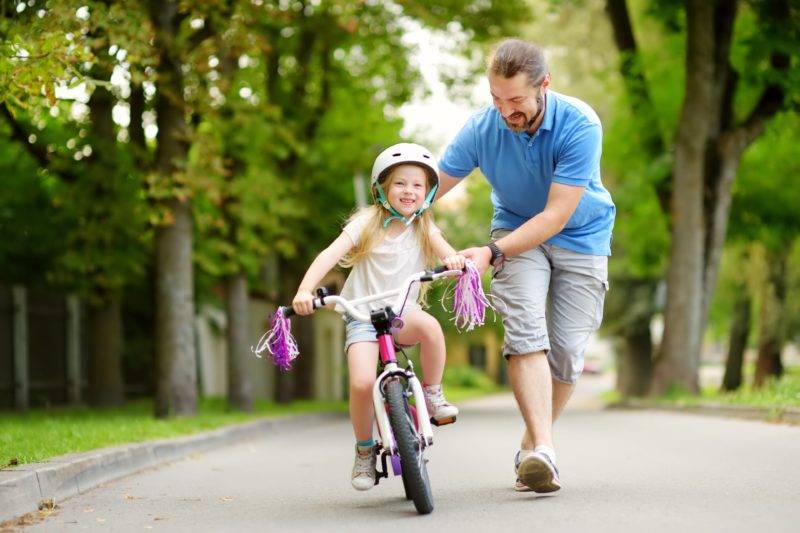
Let them practice the balancing skills while providing guidance and support as needed. Begin by holding onto the back of the seat or providing a gentle hand on their back for stability. As they gain confidence, gradually reduce your support until they can balance on their own.
Step 5: Reattach the Pedals
Once your child has mastered balancing, it’s time to reattach the pedals to the bike. They should understand the motion of pedaling forward and backward. Let them start pedaling gently and gradually increase their speed and confidence.
This step combines the coordination of balancing and pedaling. Guide your child as he gets comfortable with this new skill. Keep the feet flat on the pedals and use a full circular motion while pedaling. Practice in a straight line initially to help them focus on the pedaling action.
Step 6: Start on a Gentle Slope
Find a gentle slope or a slight incline where your child can practice pedaling and get the hang of starting and stopping. The slope will naturally help them build momentum, making it easier to pedal and maintain balance. Stay close to them to provide support and ensure their safety.
Gradually introduce them to biking on inclined surfaces, preparing them for biking on various terrains. Practice starting from a complete stop on the slope and coming to a controlled stop at the bottom.
Step 7: Practice Turning and Steering
Practice teaching your child to turn left and right by leaning on their body and using the handlebars. Teach how to use hand signals to indicate their intentions, such as turning or stopping. Emphasize the importance of looking over their shoulder to check for traffic before making turns.
This step helps develop their maneuvering skills and increases their awareness of their surroundings while riding. Demonstrate the correct techniques for turning and signaling. Practice turning in both directions to ensure they are comfortable with both left and right turns.
Step 8: Gradually Introduce Traffic Skills
Once your child is confident in their riding abilities, gradually introduce them to basic traffic skills. Teach them about stopping at intersections, looking for oncoming traffic, and yielding to pedestrians. Explain the importance of obeying traffic signs and signals.
This step helps them understand the responsibilities of riding a bike on the road in a real-world scenario. Guide them as they practice these skills in a controlled environment. Consider setting up mock intersections or using traffic cones to simulate real traffic situations.
Step 9: Ride Together
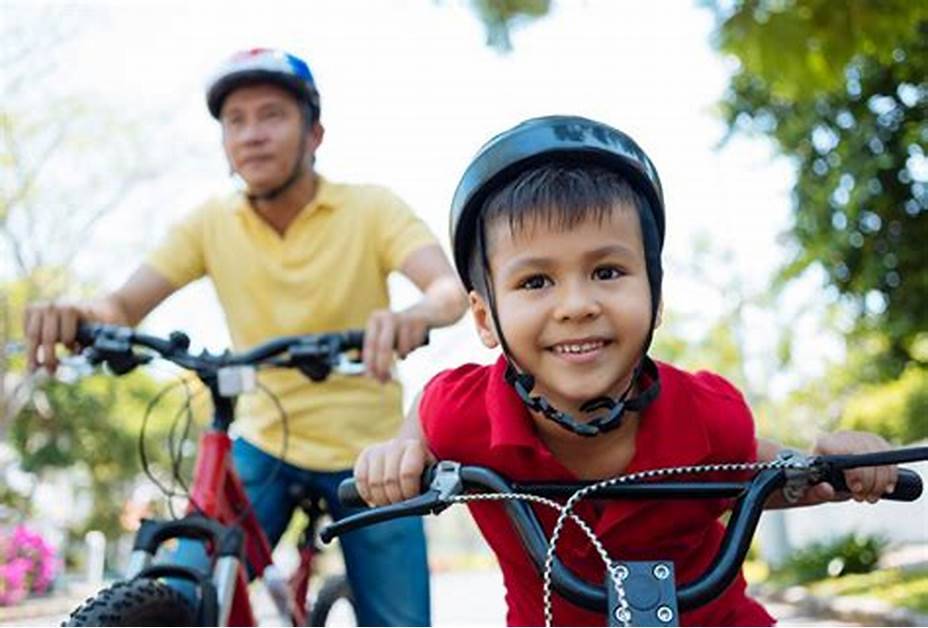
Join your child on bike rides to guide them as they gain more experience. Start with short rides around the neighborhood and gradually increase the distance. Explore different terrains to adapt to varied riding conditions.
Riding together also allows you to model safe biking behaviors and reinforce proper techniques. This step helps foster a love for biking and builds confidence in your child’s abilities. Enjoy the shared experience, and make biking a fun and enjoyable activity.
Offer encouragement and positive reinforcement as they progress. Plan rides to parks, bike trails, or scenic routes to make the experience more engaging.
Step 10: Celebrate Progress
Celebrate your child’s achievements and milestones throughout their bike-riding journey. Whether it’s mastering balance, completing a longer ride, or demonstrating excellent safety habits, acknowledge their efforts and progress.
Encourage a sense of accomplishment and foster their enthusiasm for biking. Emphasize the importance of continued safety practices, such as wearing a helmet and following traffic rules.
By celebrating their successes, you motivate your child to continue improving their bike-riding skills and instill a lifelong passion for cycling. Consider organizing a small celebration or reward when they reach significant milestones.

Bike Safety Tips For Children
The safety of your children is always a top priority. That’s especially true when it comes to outdoor activities like biking. Teaching your children how to ride a bike is an exciting milestone, but it’s also equally important to instill in them the importance of bike safety.
- Check the bike before riding, ensuring the brakes, tires, and gears are in working condition.
- Obey traffic signs, signals, and rules of the road.
- Don’t use electronic devices while riding.
- Use proper hand signals when making turns or changing lanes.
- Ride in a straight line and avoid weaving in and out of traffic.
- Yield to pedestrians and give them the right of way.
- Be mindful of road conditions such as potholes, gravel, or wet surfaces that can affect bike stability.
- Be on the lookout for opening car doors, and give parked cars enough space for opening and closing doors.
- Practice proper bike maintenance, including regular checks for loose bolts, chain lubrication, and tire inflation.
In case your child suffers from a bike accident, call your child’s pediatrician immediately. Omega Pediatrics can provide urgent care. It would be best to discuss this with your pediatrician to learn more about kids’ biking and their safety. Schedule an appointment today!
What are the Bike Safety Gears for Children?
Before you even let your kids ride the bike, ensure that they are properly geared with bike safety equipment. Below are some of the most common bike gear items that your child should have:
Helmet
A properly fitted helmet that meets safety standards and fits snugly on your child’s head helps protect your child’s head in case of a fall or collision.
High-Visibility Clothing And Reflective Gear
Enhance visibility on the road by dressing in brightly colored clothing or vests with reflective stripes. This makes it easier for other drivers to spot biking kids from a distance. Increase your child’s visibility as well, especially during low-light conditions.
‘Dress’ their bike with reflective stickers, tape, or clothing. This helps drivers and other cyclists take notice of your child and the bike on the road.
Lights
Improve your child’s visibility during dusk, dawn, or nighttime rides by adding front and rear lights to their bike. Choose lights that are easy to attach and have a steady or blinking mode.
Bell or Horn
Promote safety and prevent accidents by providing your child with a bell or horn on their bike. Teach them how to use it properly to alert motorists, pedestrians, and other cyclists of their approach or presence.
Mirrors
Enhance your child’s situational awareness by installing a rearview mirror on their bike. This allows them to see approaching traffic without turning their heads.
Knee and Elbow Pads
Protect your child from abrasions and provide extra cushioning in case of a fall by using comfortable, adjustable pads specifically designed for biking.
Gloves
Ensure your child has a better grip on the handlebars and protects their hands in case of a fall by equipping them with bike gloves. Choose gloves that fit properly and have good padding.

Turn Bike Riding into a Family Activity
Teaching your child how to ride a bike and ensuring their safety is not just a solo endeavor; it can be transformed into a delightful family activity that creates lasting memories and strengthens bonds.
By involving the whole family in biking adventures, you can foster a love for outdoor activities and promote a healthy and active lifestyle for your kids.
FAQ
How do I teach my child to ride a bike?
Teaching your child to ride a bike involves several steps, including choosing the right bike, finding a safe practice area, removing pedals initially, teaching balancing, reattaching pedals, practicing on gentle slopes, learning to turn and steer, gradually introducing traffic skills, riding together, and celebrating progress along the way.
What safety tips should I follow when my child rides a bike?
Ensure the bike is in good condition, obey traffic signs and rules, avoid distractions like electronic devices, use proper hand signals, ride in a straight line, yield to pedestrians, watch out for road conditions, and practice regular bike maintenance. In case of accidents, contact your child’s pediatrician promptly.
What bike safety gear should my child have?
Your child should have a properly fitted helmet, high-visibility clothing or reflective gear, lights for visibility during low-light conditions, a bell or horn to alert others, a rearview mirror for situational awareness, knee and elbow pads for protection, and gloves for a better grip on the handlebars.
How can I turn bike riding into a family activity?
Involve the whole family in biking adventures to create lasting memories and strengthen bonds. Make biking a fun and enjoyable activity by exploring different terrains and celebrating your child’s progress together.
Where should I teach my child to ride a bike?
Find a flat, open area free from traffic and obstacles, such as an empty parking lot or quiet street. A safe practice area allows your child to focus on learning without distractions.


